| |
L3 launcher system
|
The L3 is a complete system built with the user in mind and offers the highest levels of performance and convenience. The chamber of the L3 measures 3 litres and is based on a traditional spudgun design. Many new ideas have been introduced to the L3 including timed fan control and a 3 inch chamber opening for flexibility in barrel selection. Other refinements include a simple control layout and accessories to help with loading and venting.
|
|
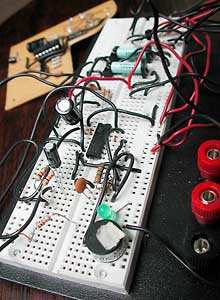
At the heart of the L3 is the CCU, combustion control unit. The CCU is a series of simple circuits which provide high voltage spark and automatic chamber fan timing. The timer is based on the dual 556 IC chip which determines fan run time as well as providing a short audible signal when the fan is started. Reed relays prevent accidental battery drain and provide circuit protection.
|
|

|
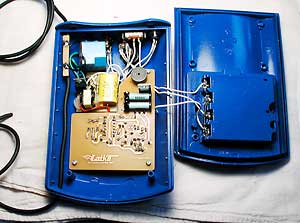
The CCU circuit was etched into a piece of copper clad board to streamline the connections and improve reliability. The enclosure intended to house the CCU is an unusual shape and required a dual sided circuit board.
|
|
This fan timer is preset at 13 seconds which should cover most shooting conditions. There are provisions on the board for two more timer settings or a potentiometer for stepless fan control. The 65K volt stungun circuit was left on its' original board and secured with adhesive. A mini sparkstrip at 15mm sets the default gap and multimeter test lead wire is used for electrode connections.
|
|

|
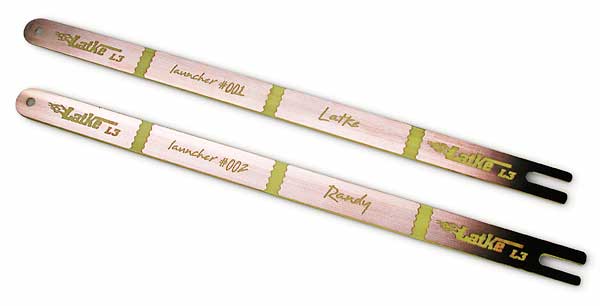
The electronics were the most challenging part of this project. With the CCU out of the way, it was time to concentrate on traditional spudgun construction. Two L3 launchers were being built at the same time. The first would be used for preflight and testing. The second L3 would get the full trimmings as it would be a gift for a friend.
|
|
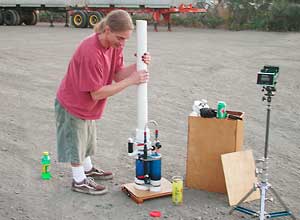
This is the first L3 (#001) running its' initial fuel test. The fastest shots with 1.5" gasket slugs and a slightly sub optimum, 1.1:1 ratio came in at 420 MPH while tennis balls at an 'ideal' .7:1 ratio were clocked at 355 MPH. FuelTool was used to calculate the 48cc meter volume which shot fastest at a calculated 4.6% propane mix. L3 #001 is shown here with a simplified CCU and standard, off the shelf meter parts. A 2"-3" threaded bushing is used to mount the 1.5" breechload test barrel.
|
|

|
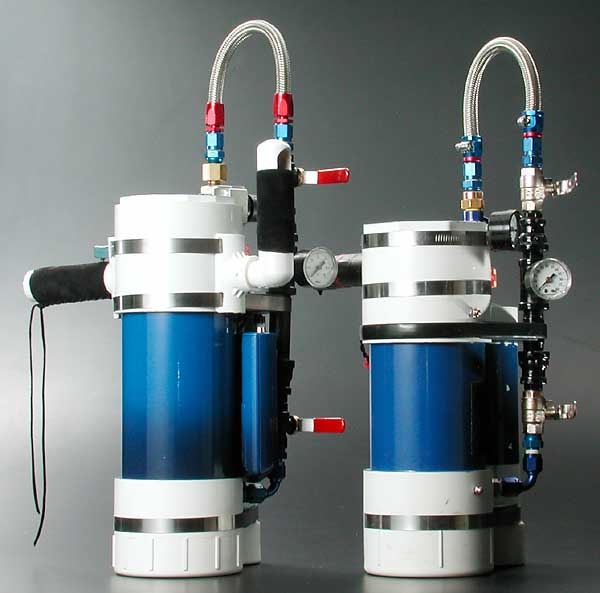
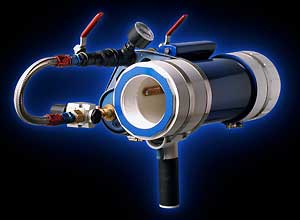
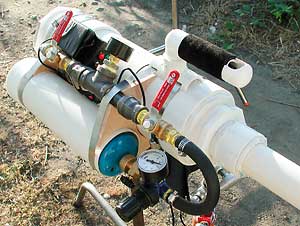
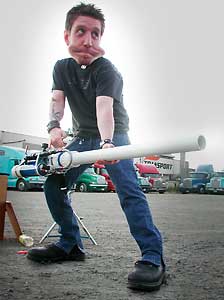
L3 #002 was built from templates and is identical to L3 #001 except in appearance. The T fitting on each meter pipe is slightly different but adjustments were made to get back to an exact 48cc meter volume. This launcher was designed to shoot fast and look fast. The paint job was inspired by the Blue Flame rocket car. Click the image to see a 360 degree view of the L3.
|
|
The L3, at 3,000ml, is only slightly larger than the original L1's volume of 2,600ml. Despite this modest increase, the L3 feels much larger and a bit heavier than the smaller L1. Many improvements to the L1 were made and are outlined below. Other small changes which couldn't get their own paragraph include a 3 degree angled Guano Grip handle and a new 3 tension band layout to reduce clutter.
|

|

|
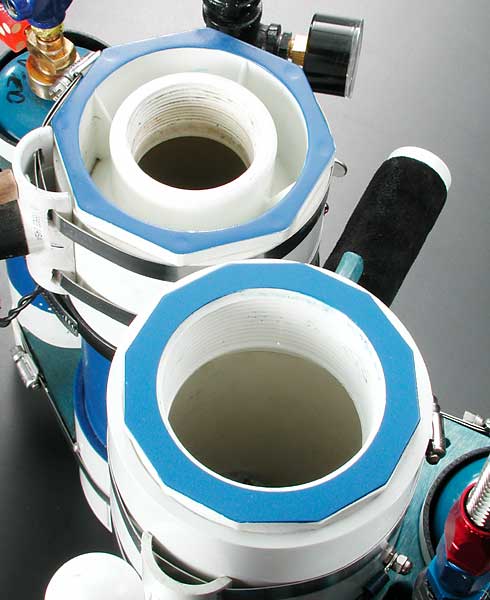
The biggest change with the L3 is the 3" chamber opening which allows tennis balls to be breech loaded using a 2.5" barrel. A heavy duty, sch80 bushing is used to mount traditional barrels with a 2" male fittings.
|
|
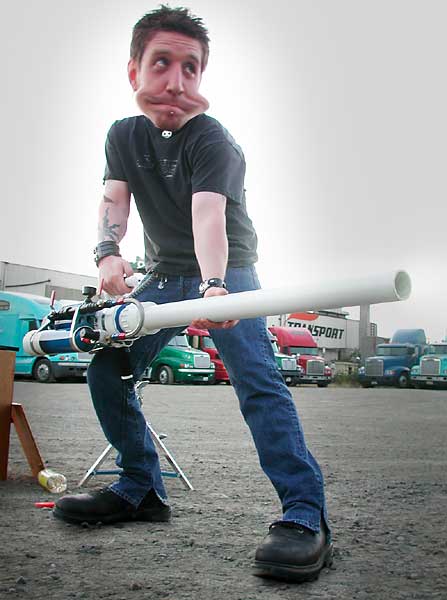
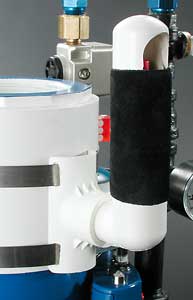
New for the L3 is the removable minigun style handle for waist level shooting. This handle also balances the launcher when a barrel is attached making it easy for a shooter of any size or strength to get a good shot. This handle is also useful during ammo and fuel changes and provides a safe and easy way to move the launcher around. The electronic thumb trigger for this grip is protected by an endcap with a finger hole.
|
|

|
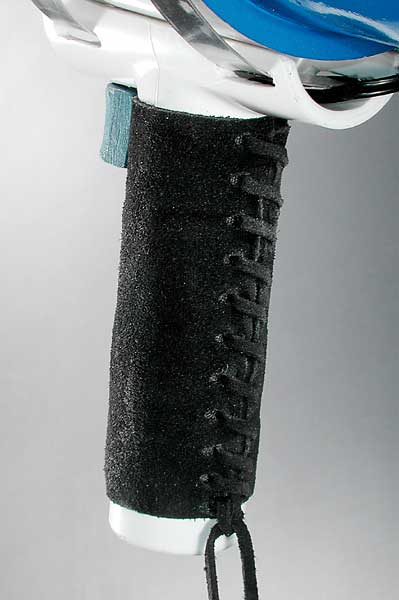
The Guano Grip has proven itself dependable and indestructible on the L1. The clothespin mechanism inside the handle provides plenty travel and enough resistance to help avoid accidents. Suede lace up grip covers deliver comfort and a touch of class.
|
|
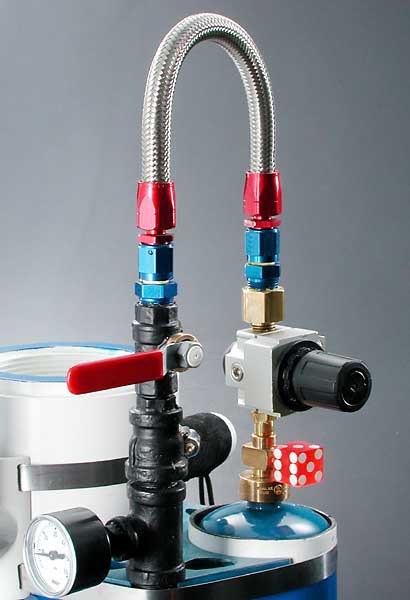
The meter on L3 #002 uses top quality Aeroquip brand fittings. These are by far a step up from the less expensive anodized hose adapters used on the L1. The Aeroquip hose barbs actually thread into the hose with each turn of a wrench. First class connections with no pain involved. The regulator here is a Bellofram brand rolling diaphragm type. It also needs to be adjusted after each shot as before. New Mr.Heater brand regulators will be tried to remedy this ongoing problem. The entire meter is covered in black rubber which gives it a nice feel and a matte finish.
|

|
|
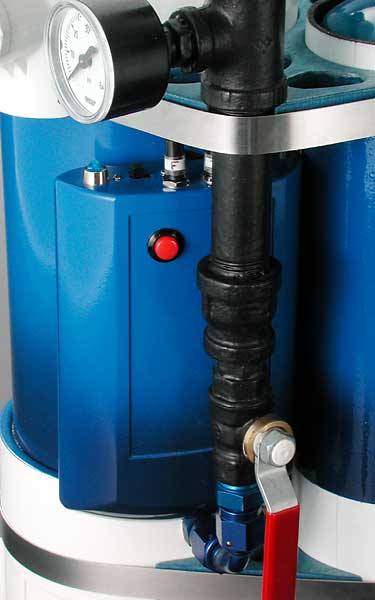
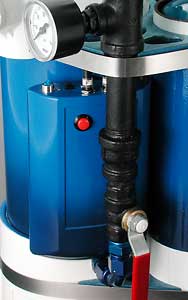
The CCU slides neatly underneath the meter pipe taking advantage of valuable real estate. The chamber electrodes are between the meter pipe and the propane bottle holder making accidental shock unlikely. Fan electrodes are out of the way also on the underside of the chamber. CCU controls are easily accessible including main power on/off, fan start button and blue LED indicator light. The LED is crowned with a Moonstone which glows blue when the light is on.
|
|
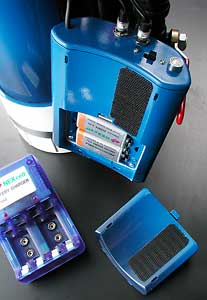
The fan pulls the full voltage available from the two onboard 9v batteries. The stungun is hard wired to one 9v battery and will function with a single battery in place. The curved case of the CCU is secured with velcro to allow for quick battery changes. Fan and trigger connections are labeled with "F" and "T" respectively. This version of the CCU requires the use of NiMh batteries as the voltage drop of alkalines can have an effect on timer reliability. NiMh batteries also provide a hotter, faster pulsing spark. Spare batteries are a must as NiMh cells may die suddenly without warning.
|
|

|
The current L3 sparkstrips use a picket fence shaped gap to increase reliability. Overall gap on the strip is 12mm. These strips were etched into copper clad circuit board then cut into shape. Press n' Peel Blue photo resist was used to transfer the images shown here. Pn'P Blue is a great product but it does not work well with textured copper boards, like these.
|
|
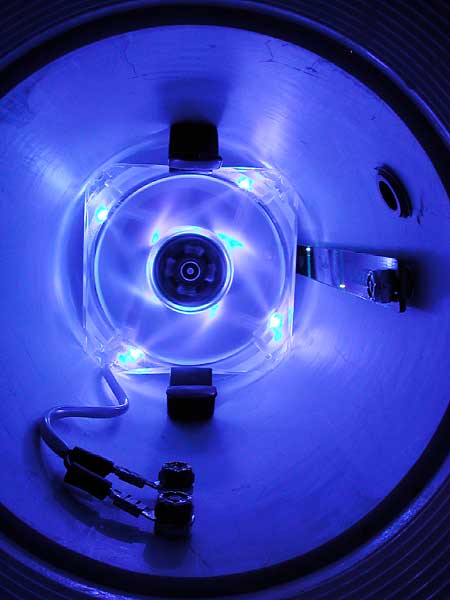
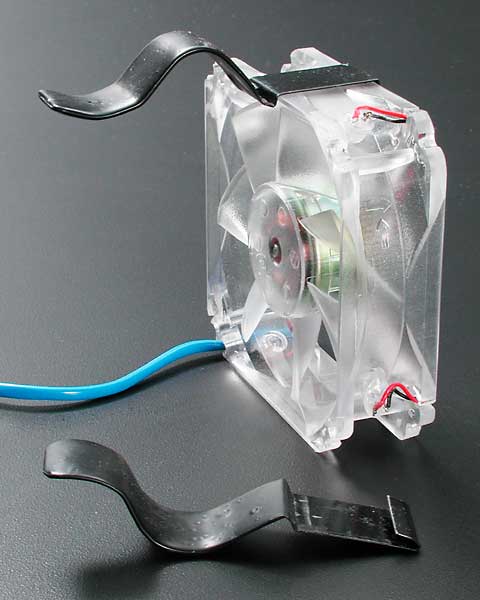
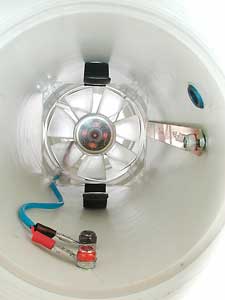
The chamber on the L3 underwent drastic changes. Gone are the awkward traditional electrodes which have been replaced by a single sparkstrip. This open design is easy to clean and lets the fan move to any position along the chamber. Quick disconnects on the fan electrodes and newly designed fan clips provide speedy replacement. This 12v CPU fan is a lighted LED style. Mouse over image to see the fan in action.
|
|

|
The new fan clips have been tested extensively and show excellent performance. The clips are made from spring steel used to wrap lumber. The steel is bent using a vise, hammer and a flat head screwdriver for the tight angles. The clip hooks around the exhaust side of the fan and is held in place by tension between the curved part of the clip and the chamber wall. The contact areas of the clips are dipped in rubber to keep the whole assembly from sliding toward the muzzle. Minimum spring pressure is required to keep the fan in place. Too much pressure will cause the fans' cage to distort and rub against the spinning blades.
|
|
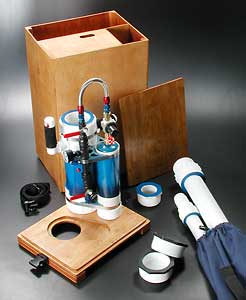
Sparkstrips, fan clips and CCUs are all part of a system that comprises the base L3. The L3 case completes the system and is both convenient and functional. This compartmented case holds all your tools, fuel, ammo and accessories. Obey local gun laws - remove fuel and ammo from case when transporting by car. A cordura bag with shoulder strap serves as a quiver for your barrel selection. Pictured here is the complete L3 #002 system with a 2.5"x53" tennis ball barrel at .7:1, a 1.5"x57" Spudtech rifled barrel at 1.5:1, a 3"-2" reducing bushing, strap with handle and a selection of 4" endcaps.
|
|

|
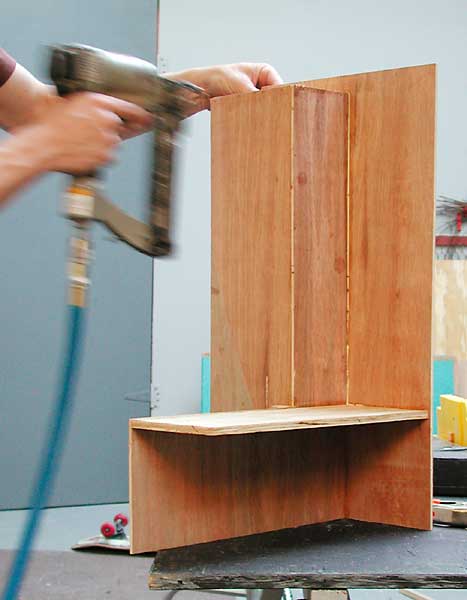
The case is made of birch plywood which is lightweight and rigid. All joints were glued and stapled for maximum strength. Cuts were completed with a Skillsaw mounted to the underside of a table using a home made, T-square fence setup. A pneumatic nail gun was borrowed which really helped speed construction. The wood was finished with stain and a polyurethane coating to protect the case against water damage.
|
|
The riser base of the L3 case has a cutout to allow for chamber venting and a recessed shape that holds the launcher in place when twisting barrels on or off. The box lid can be held over your head as shelter, should the need arise, or placed on the box and used as a chair. The L3 case worked great on its' trial run. Future modifications will allow the one way endcap check valve to open and the fan start automatically when the launcher is placed on the base.
|
|
|
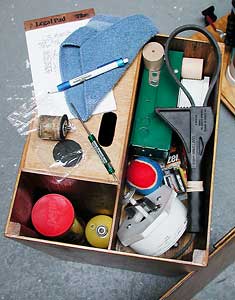
The storage compartments inside the L3 case holds a full compliment of shooting accessories. The large vertical storage area can accommodate up to 4 propane bottles or any combination of ammo and fuel A chronograph stand also fits neatly into this section. Important items like tools, batteries, notepad, strap wrench and towels are all within easy reach.
|
|
The Blue Flame was field tested and recorded nearly identical speeds as L3 #001 using the same fuel mixture and pressure. It was then packed up and shipped off to it's new owner who has a private lake for shooting. The L3 design will continue to receive further refinements. CCU schematics and fan clip templates will be available soon in the build section of Burnt Latke.
|
|
|
|
|